How Long Does It Take to Install Plastic Fencing?
Depending on what the type of Tenax fence mesh you're using, you can set up as quickly as an hour or take a little longer. The type of mesh you select will affect the project's duration, whether you're constructing a garden enclosure, securing pets, demarcating a construction site, or safeguarding turf. Taller or tensioned fencing for deer or livestock may take several hours to set up, as it involves multiple steps and may require some light digging, whereas lighter rolls for gardens or temporary barriers can be completed in less than an hour. The setup time can be affected by the location of the posts, the condition of the ground, and whether you use buried edging or a gate. Here are a few typical mesh fencing project types, along with approximate completion dates and easy-to-follow instructions to help you organize your next project effectively!
Tenax Fence Comparison Chart
| Garden & Vegetable Plots | Yard Perimeter for Pets | Deer Exclusion Zones | Temporary Event or Worksite Areas | Poultry & Small Livestock Runs | Property Boundary Marking | |
| Typical Size | 10×10 ft to 30×50 ft | 50 to 200 linear ft | 100 to 300 linear ft, 7 to 8 ft tall | 25 to 200 ft | 10×20 ft to small pasture sections | 100 to 300 ft |
| Popular Type | Tenax Garden Fence, 3 to 4 ft tall | Tenax Pet Fence, 4 to 5 ft tall, UV-treated black mesh | Tenax C Flex or Pro Deer Fence kits | Tenax Safety or Barrier Fence, bright orange | Tenax Poultry Fence or Ranch Mesh | Tenax Garden Fence or Ranch Mesh, green or black |
| Install Time | 1 to 3 hours | 3 to 6 hours | 4 to 8 hours | 30 minutes to 2 hours | 2 to 4 hours | 3 to 5 hours |
| Recommended Use | Shield gardens from rabbits, groundhogs, and small animals while letting in sun and airflow | Contain dogs or cats safely without the cost or weight of wood or metal fencing | Protect larger gardens, orchards, or landscaping areas from deer browsing | Provide a quick and highly visible boundary for construction sites or public events | Enclose chickens, ducks, or goats with a flexible yet durable mesh solution | Mark property lines with a non-permanent boundary that blends into landscaping |
| Extra Tip | Pre-mark corners and post spots to cut install time in half | Add a top tension wire for larger dogs, adds about 30 minutes | Use 8 ft posts set 2 ft deep for stability | Use reusable post sleeves for events to avoid pounding posts each time | Add a buried skirt mesh to deter digging predators, adds about 45 minutes | Choose green mesh for a natural look that blends with landscaping |
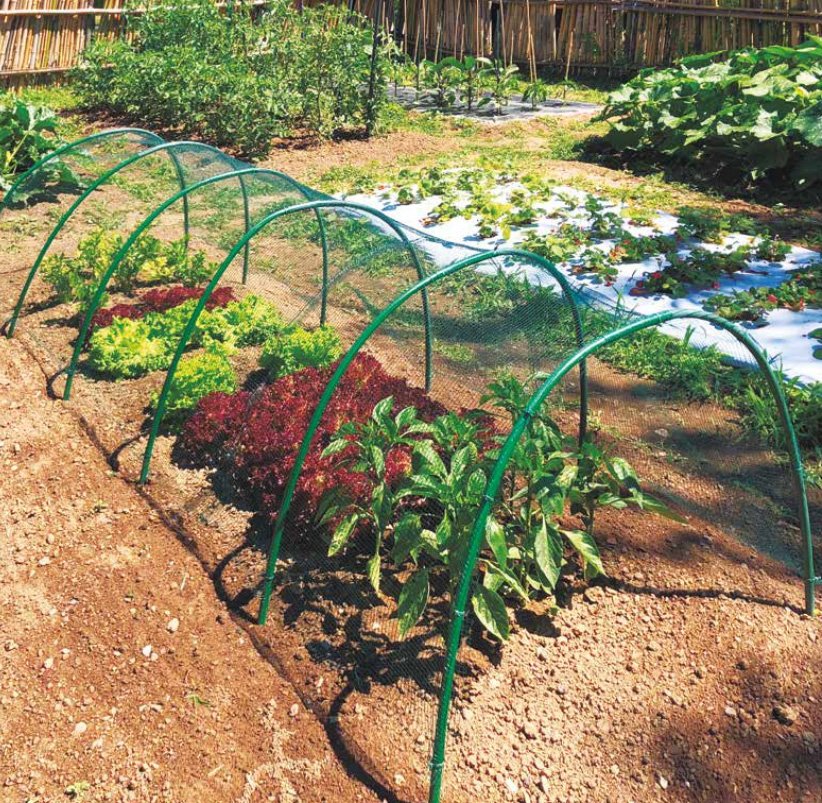
Garden Bed Netting
Garden bed netting keeps flowers, vegetables, and other delicate plants safe without blocking sunlight or airflow. The fine mesh also keeps rabbits, birds, and other small animals from getting in the way of growth, while keeping the area clean and neat. The UV-resistant material keeps the mesh strong and flexible even when it's in the sun all the time. Rolls are easy to store and handle when not in use. This makes it a good long-term choice for homeowners who want to protect small garden areas from the weather year after year.
Shop Garden & Home Fencing
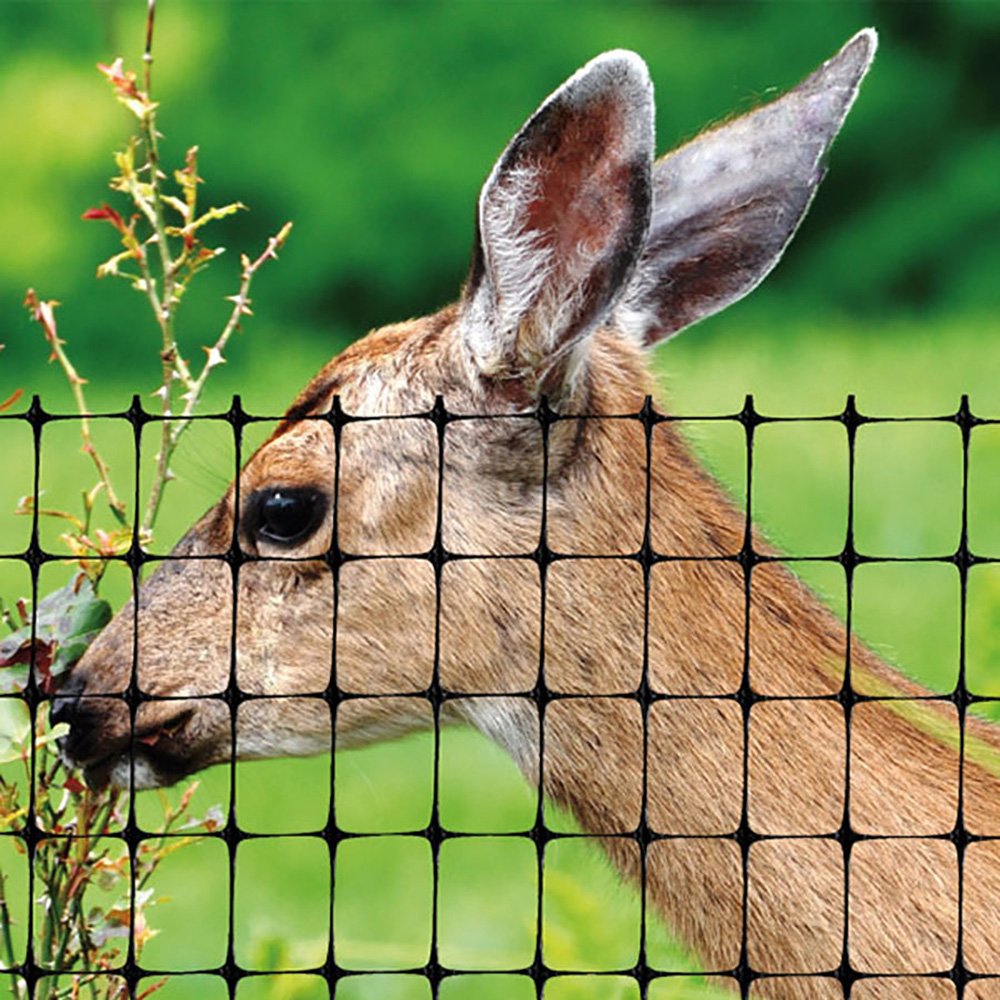
Fencing for Pets or Small Livestock
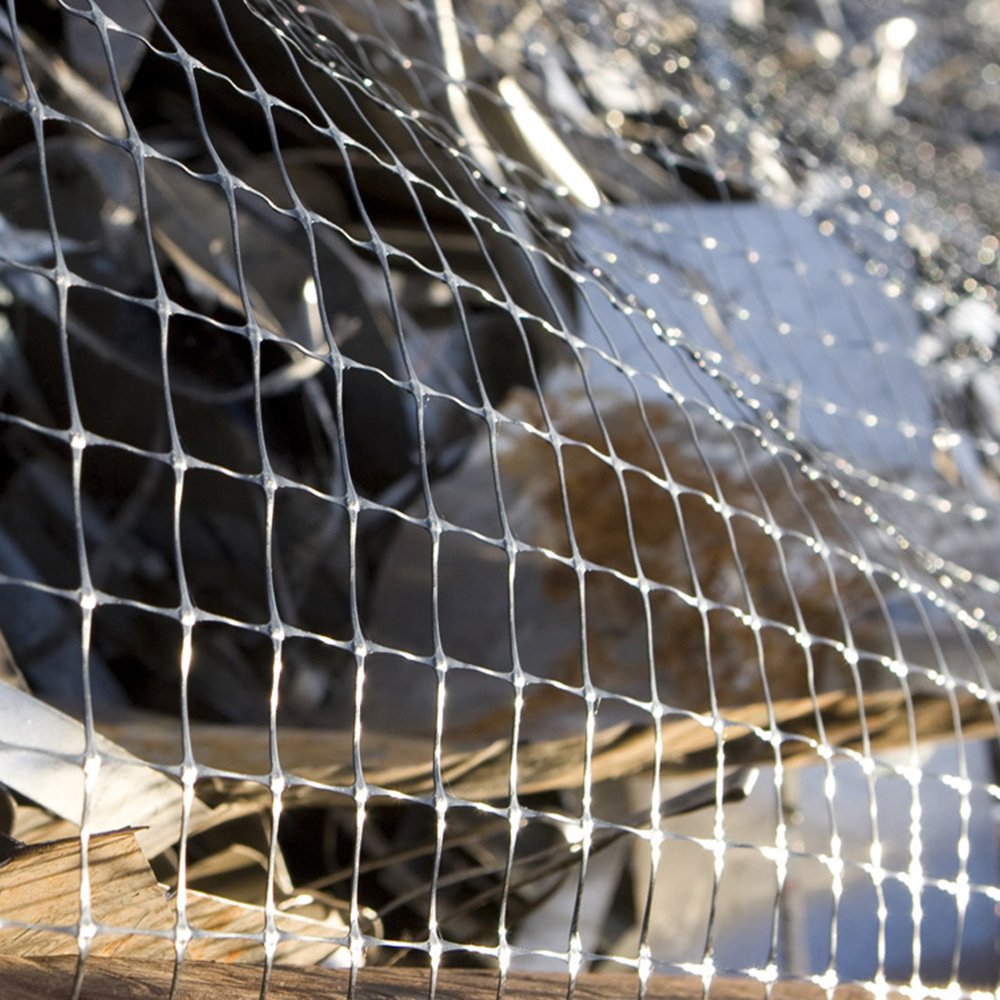
This fencing is a good choice for keeping dogs, chickens, or other small animals safe because it is built to last. The mesh is both strong and flexible, so it can fit a variety of property layouts and withstand repeated use. The fencing comes in natural colors like black and green, which help it blend into outdoor settings without standing out too much. We also offer types with reinforced ribs that add extra support at key points, helping the barrier keep its shape around corners and in high-use areas.
Shop Farm & Ranch Fencing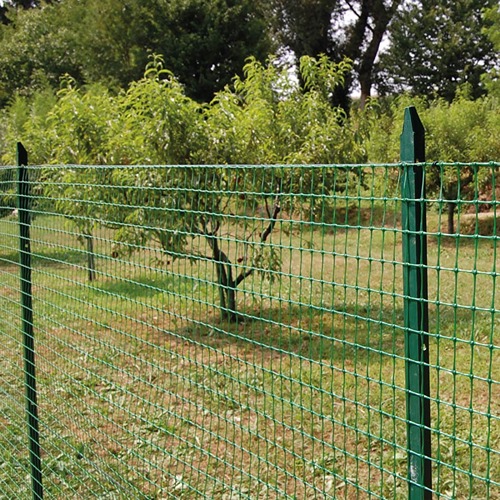
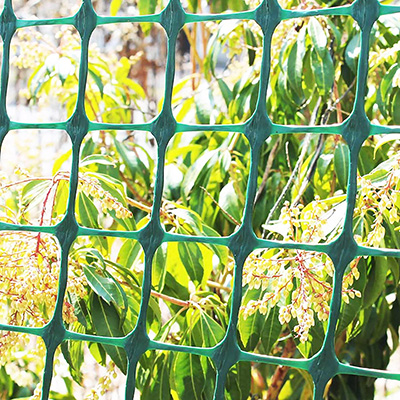
Perimeter Fencing for Larger Property Areas
Perimeter mesh fencing is a great way to mark the edges of your property, pasture, or a larger area of your yard, as the mesh is designed to be both strong and flexible, creating a clear barrier while remaining easy to move and handle. The fencing comes in dark colors that blend into rural or residential settings, making it look simple but effective. Plus, its tough polymer design makes it resistant to wear and tear, so you can count on it for ongoing property management and boundary control.
Shop Property Fencing Options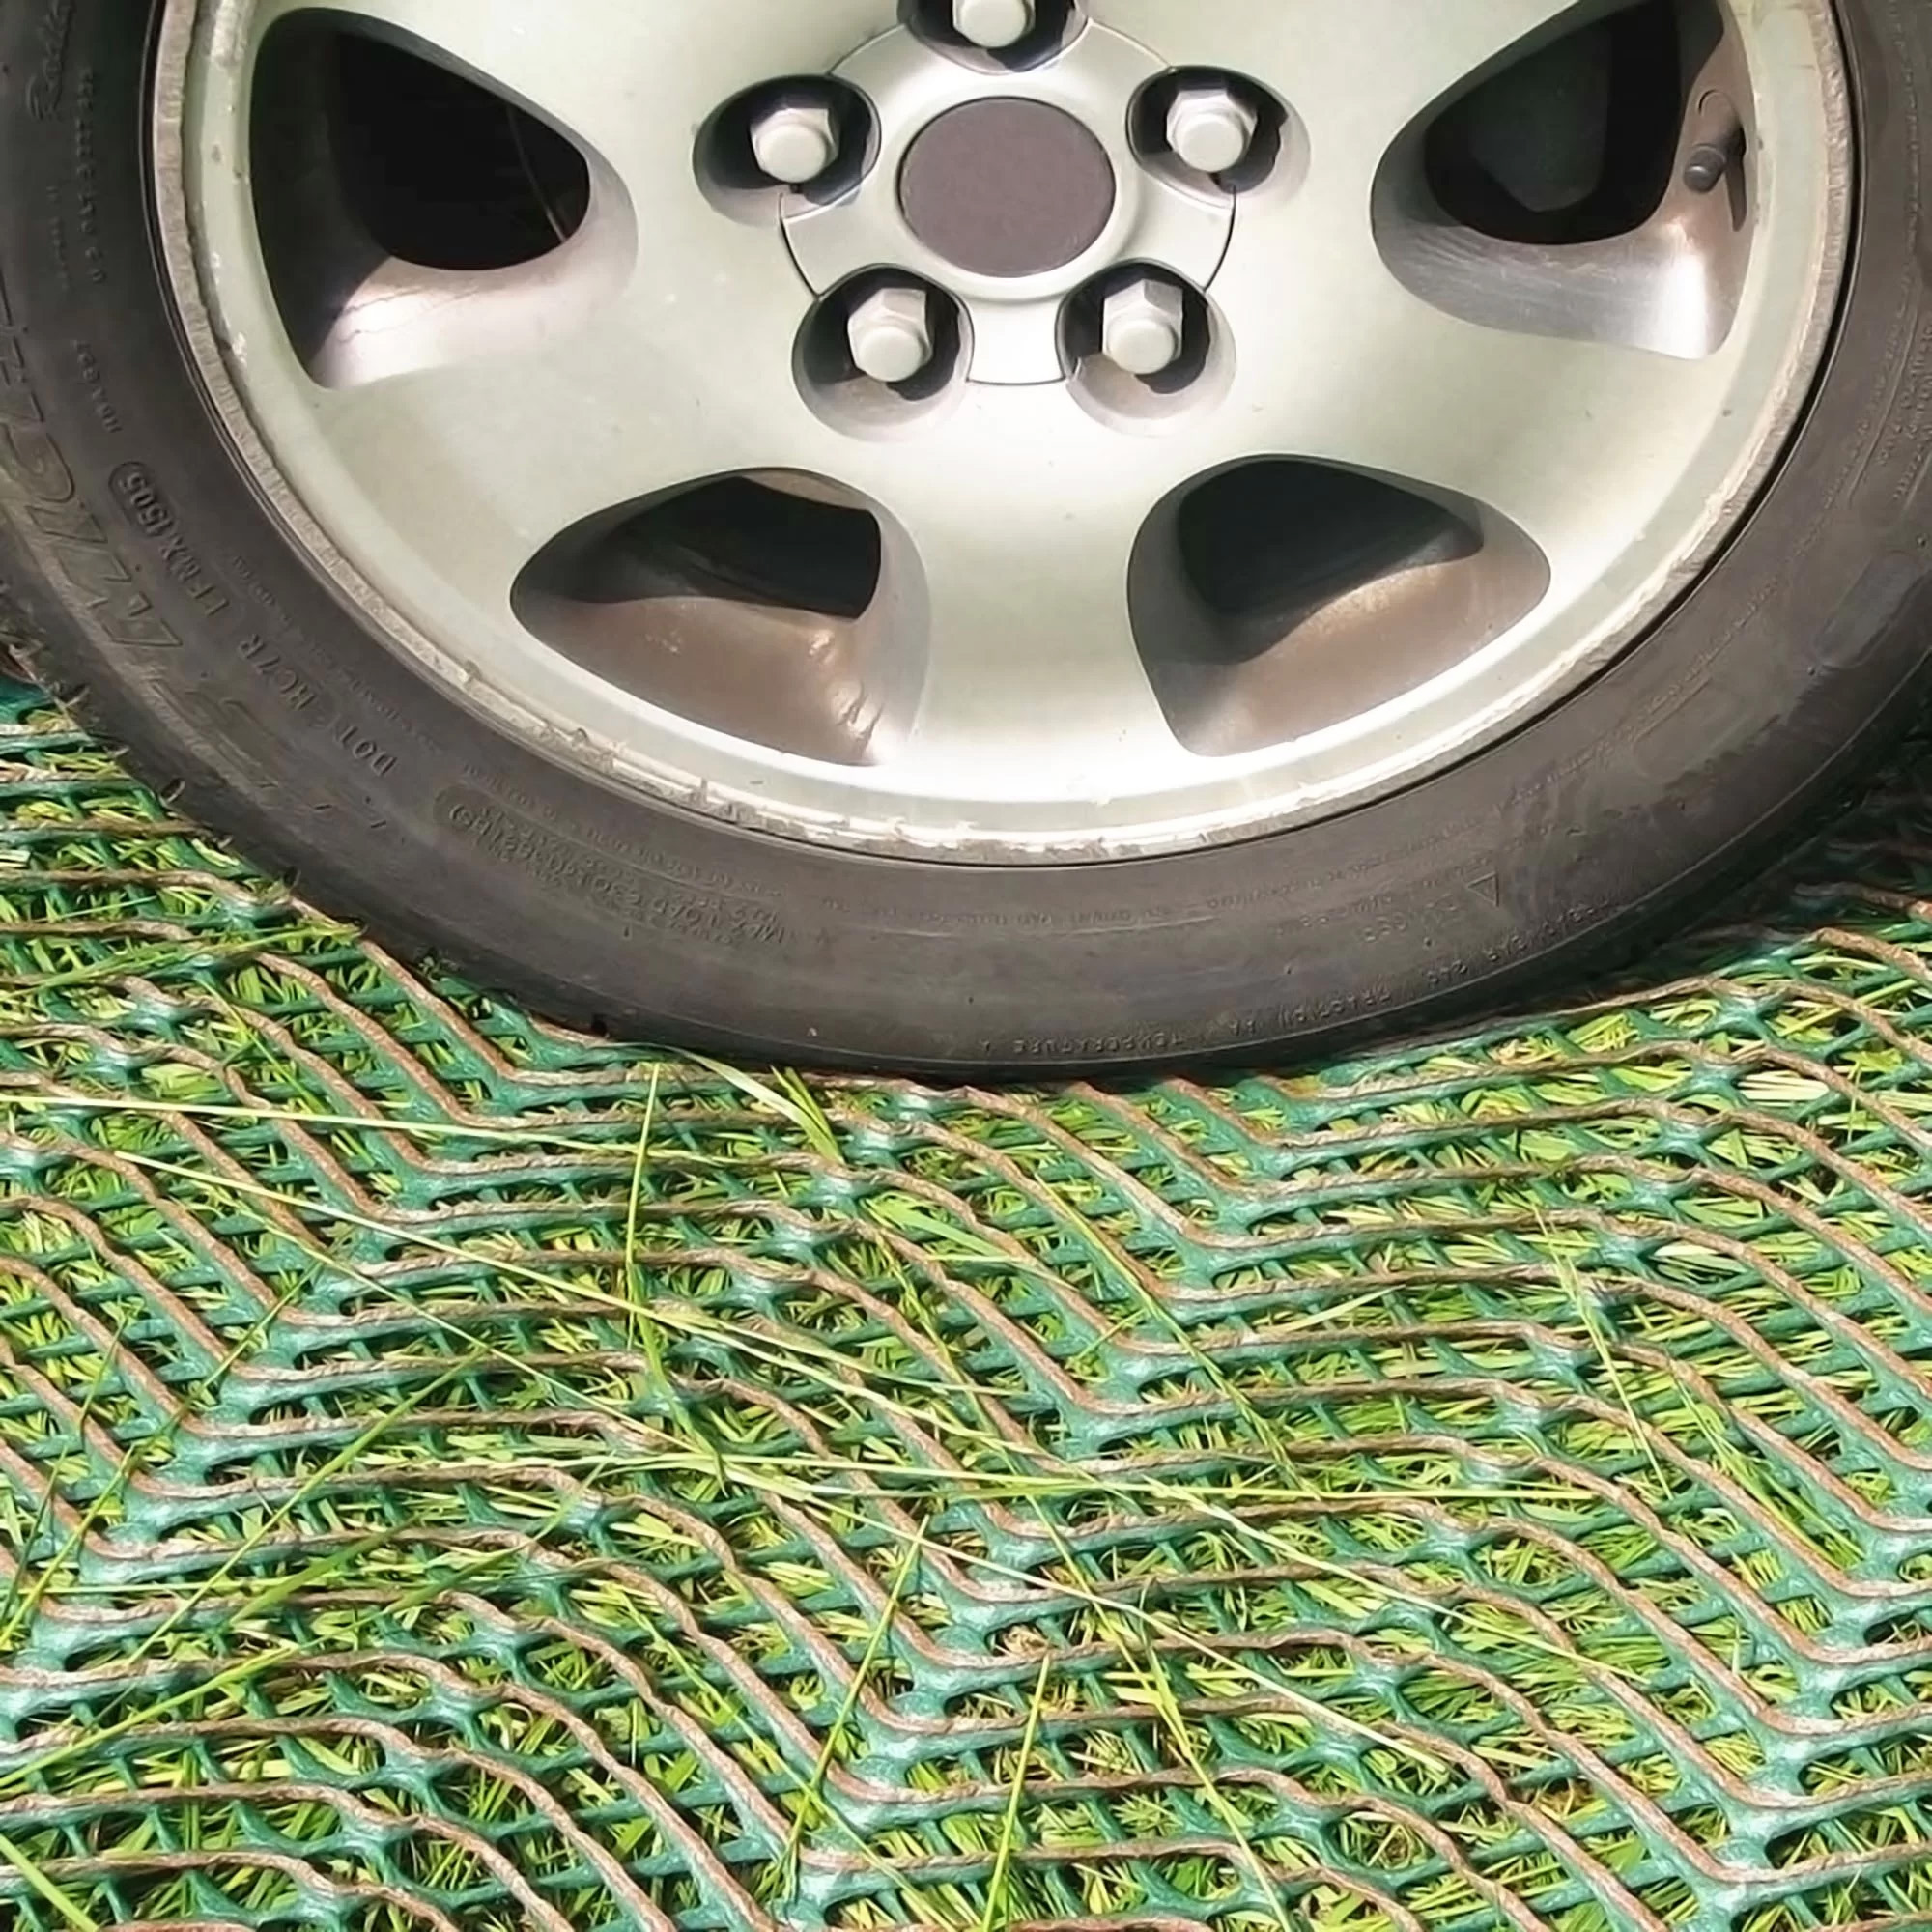
Turf Safe Mesh for Ground Protection
Turf protection mesh is designed to protect lawns, sports fields, and landscaped areas from damage caused by foot traffic or light equipment. The open grid lets grass keep growing while spreading pressure over a larger area, preventing it from getting too compacted. The mesh is lightweight yet strong, so it works well even after repeated use. It can be used for both temporary and permanent ground protection needs and is great for protecting delicate green spaces in busy areas because it fits with natural surfaces and stays strong.
Shop Turf Protection Mesh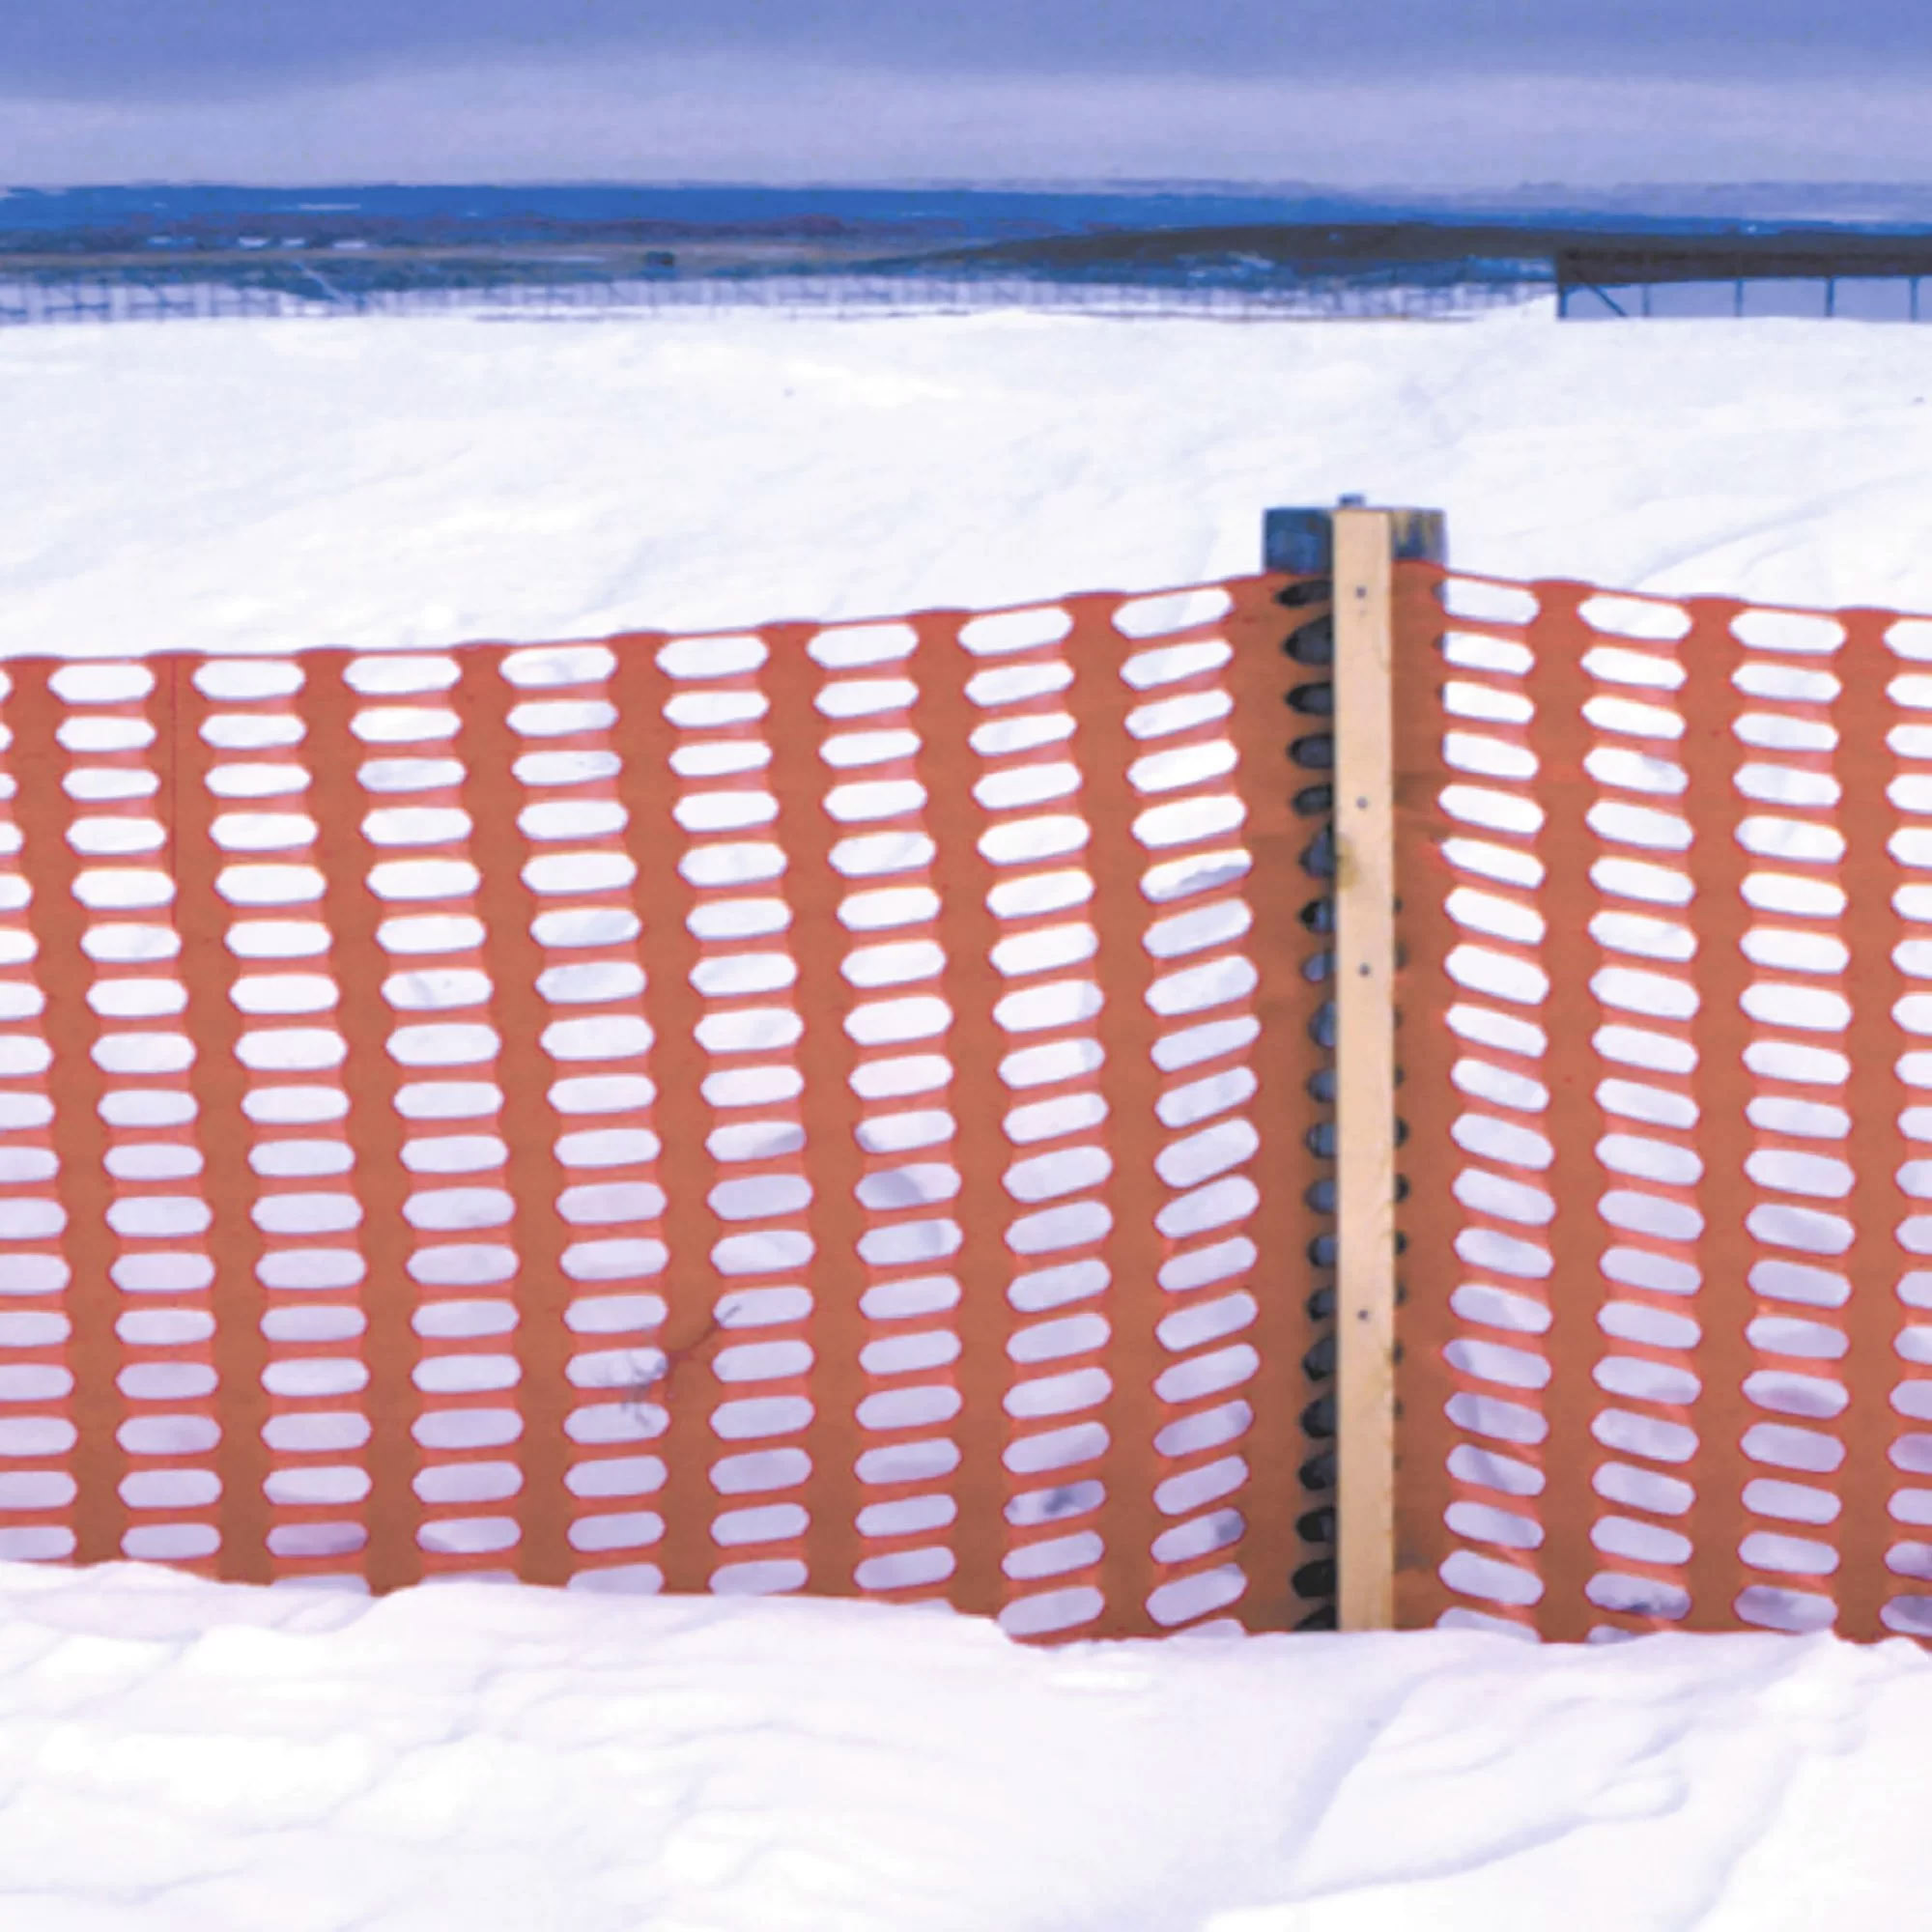
Bright Barrier for Jobsites or Snow Control
High-visibility barrier mesh is a dependable way to mark off construction sites, direct crowds, or keep snow from blowing around in open areas, since its bright orange color makes the boundaries easy to see from a distance, reducing the risk of accidents and reminding workers and visitors to be careful. The fencing is strong, keeps its shape even after repeated use, and doesn't become brittle. Because it is lightweight, it is easy to move around as needed, making it flexible enough to adapt to changing sites and safety needs.
Shop Snow & Safety FenceBrochures & Specifications
How to Install Plastic Fencing: A General Step-by-Step Guide
Plastic fencing, typically made from durable polyethylene or polypropylene mesh, offers a versatile and cost-effective solution for a wide range of applications, from garden protection and property demarcation to animal containment and privacy screening. Its resistance to rot, rust, and UV degradation makes it a long-lasting alternative to traditional wood or metal options. Proper installation is crucial to ensure the fence remains functional, aesthetically pleasing, and able to withstand environmental stresses like wind and animal pressure. This guide outlines the fundamental steps for installing plastic mesh fencing and provides a framework adaptable to most residential, agricultural, or light-commercial projects.
- Measuring and Planning
- Measure your space and mark where the fence will go
- Mark corners and gate openings with spray paint or stakes
- Add 10-15% extra material for overlaps and mistakes
- Space posts 6-8 feet apart (closer for taller fences or windy spots)
- On slopes, install in stepped sections to keep a straight top line
- Setting the Posts
- Start with corner posts and make sure they're perfectly straight
- Use concrete for permanent fences; T-posts or ground screws for temporary ones
- Run a string between corner posts to line up all other posts
- Dig post holes at least 2 feet deep for fences over 6 feet tall
- Choose posts based on your needs: steel T-posts for strength, treated wood for looks, or plastic sleeves for clean appearance
- Hanging and Securing the Mesh
- Start at a corner and unroll the mesh along your posts
- Keep the finished edge facing outward
- Secure with UV-resistant zip ties, wire clips, or heavy-duty staples
- Pull the mesh tight, but don't overstretch it
- Secure the bottom edge well - bury it or stake it down to keep animals from digging under
- Overlap roll edges by 6-12 inches when joining
- Trim excess for a clean look
- Add tension wires for extra support in long spans or windy areas
Shop Installation Accessories
Contact Us
Whether you're protecting a backyard garden, keeping pets safely enclosed, or managing a construction site, choosing the right mesh fencing can save you time and effort. The type of fence you select will determine how long setup takes. Lighter rolls for small spaces often take just a couple of hours, while taller or tensioned fencing may require more planning and support. Each type serves a specific purpose, from keeping out deer to securing poultry or marking property lines. If you're not sure which product fits your project, we're here to help. Reach out to us today and let our fencing specialists guide you to the best solution for your needs.
Contact Us